Hiking Trip Planning: The Complete Step-by-Step Guide for Your Next Trail
Most people think hiking trip planning starts with buying boots. It doesn’t. It starts with a single honest question: how far can I actually walk in a day, carrying what I need, without wanting to quit by lunch? Answer that, and everything else—trail choice, budget, gear, permits—falls into place quickly.
Hiking trip planning rewards the people who do the boring parts first. Get the route, the season, and your fitness lined up before you spend a dollar, and you’ll avoid the two most common ways a trail trip falls apart: turning back early because you were underprepared, or blowing the budget on gear you didn’t need. This guide walks through the whole process, from picking a trail to getting home safely.
What Hiking Trip Planning Actually Involves
A hiking trip is more than a long walk. It’s a sequence of decisions that compound: trail, date, permits, transport, food, gear, and a bail-out plan. Skip one and the others get harder. Plan them in order and the trip basically plans itself.
The process breaks into six steps:
- Choose a trail that matches your fitness and experience.
- Pick a season and date, then reserve any permits.
- Budget for lodging, food, gear, and transport.
- Assemble gear and pack by weight, not by impulse.
- Share a route plan with someone who isn’t coming with you.
- Build in a rest day or an alternate route as an exit.
None of these steps is hard on its own. The trick is doing them before you’re standing at the trailhead. Experienced hikers don’t plan less than beginners—they just plan faster, because they’ve learned which pieces matter. If you’re new to going out on your own, our guide to traveling solo covers the mindset side of the same skills.
Pick Your Trail and Season First
Trail and season are one decision, not two. A route that’s a pleasant walk in September can be snowbound, closed, or dangerously hot in another month.
Start with an honest fitness check. A flat 5-mile loop is a very different commitment from a 14-mile day with 3,000 feet of gain. If you haven’t hiked in six months, start with the loop. Elevation gain matters more than distance: 2,000 feet of climb can turn a “moderate” trail into a lung-burner, especially above 8,000 feet where the air thins.
Season shapes everything else. In the U.S., Rockies trails below 9,000 feet usually clear by June and stay open into late October. Appalachian and East Coast hiking is best in spring and fall, when it’s cool and dry. The desert Southwest is the reverse—you hike the Grand Canyon rim-to-river trail in October through April, not July.
Check recent conditions on the trail’s official page or a site like Lonely Planet’s hiking guides, which flag seasonal closures and permit windows. Trail conditions change yearly after fires, floods, and heavy winters, so a 2022 trip report is only a starting point.
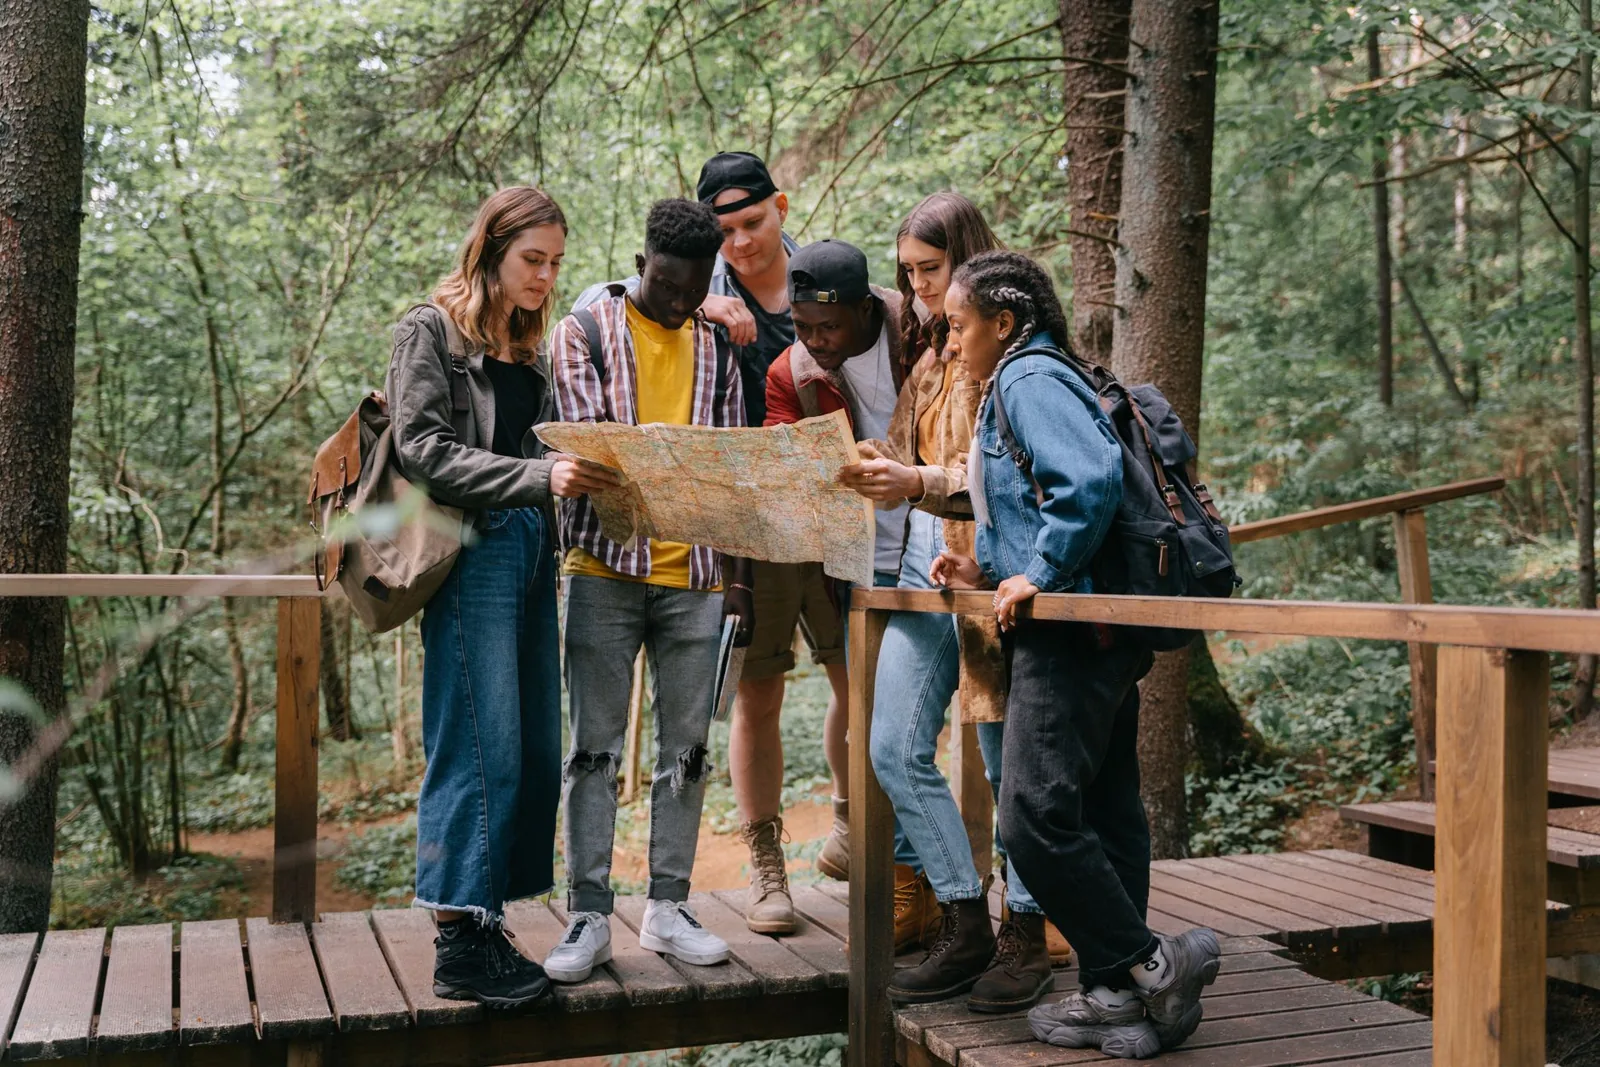
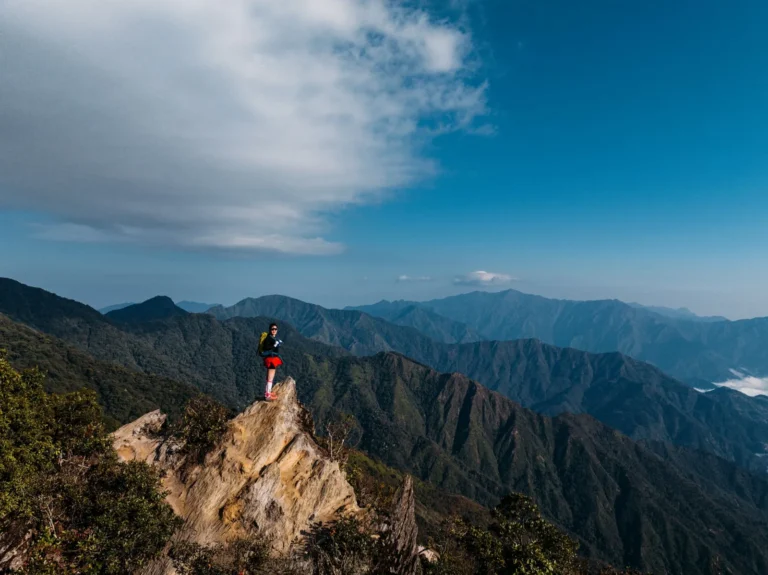
Photo by Ivan S via Pexels
How Much a Hiking Trip Costs
Hiking has a reputation for being cheap, and day hikes usually are. Multi-day trips add up fast. Here’s what a realistic weekend hiking trip looks like for one person, mid-range.
| Expense | Budget (hostel/camping) | Mid-range (hotel/lodge) |
|---|---|---|
| Lodging, 2 nights | $70–$120 | $220–$400 |
| Food & water | $40–$60 | $80–$120 |
| Gas / transport | $30–$60 | $60–$120 |
| Permits & fees | $10–$40 | $10–$40 |
| Trail snacks & fuel | $15–$25 | $15–$25 |
| Total | $165–$305 | $385–$705 |
The big swing is lodging, followed by transport. Permits are rarely the expensive part—the most sought-after ones, like a Half Dome or Angels Landing permit, cost under $40. The real costs are the flight and the rental car if you’re flying in.
If you’re budgeting a longer adventure trip, the same principles scale: fixed costs (flights, permits) dominate, while food and fuel stay surprisingly flat. Our breakdown of how much an African safari costs shows how a bigger trip follows the same pattern of “cheap entry, expensive logistics.”
Permits, Reservations, and Park Rules
Nothing ends a hiking trip faster than showing up without a permit. Popular trails in U.S. national parks now use timed-entry or lottery systems, and demand keeps rising.
Permits fall into a few buckets:
- Lottery permits (Half Dome, The Wave, Mount Whitney): apply months ahead, pay a small fee, hope your dates draw.
- Timed-entry/day-use permits (Rocky Mountain, Arches, Yosemite peaks): released 3–12 months out and often sell out in minutes.
- Free self-registration (most national forests, backcountry): grab a form at the trailhead, no fee.
- No permit (many state and local parks): just show up.
Reserve the moment a window opens. Half Dome’s daily lottery opens in March for the summer season, and Whitney permits drop in February. If you miss your date, check for cancellation slots—parks release returned permits on a rolling basis, sometimes the day before.
Read the rules when you reserve, not at the gate. Bear-canister requirements, fire bans, and dog restrictions vary trail by trail, and rangers do enforce them. If you’re planning to hit adventure travel destinations across several parks in one trip, stagger your permit dates so a rejection on one trail doesn’t sink the whole week.
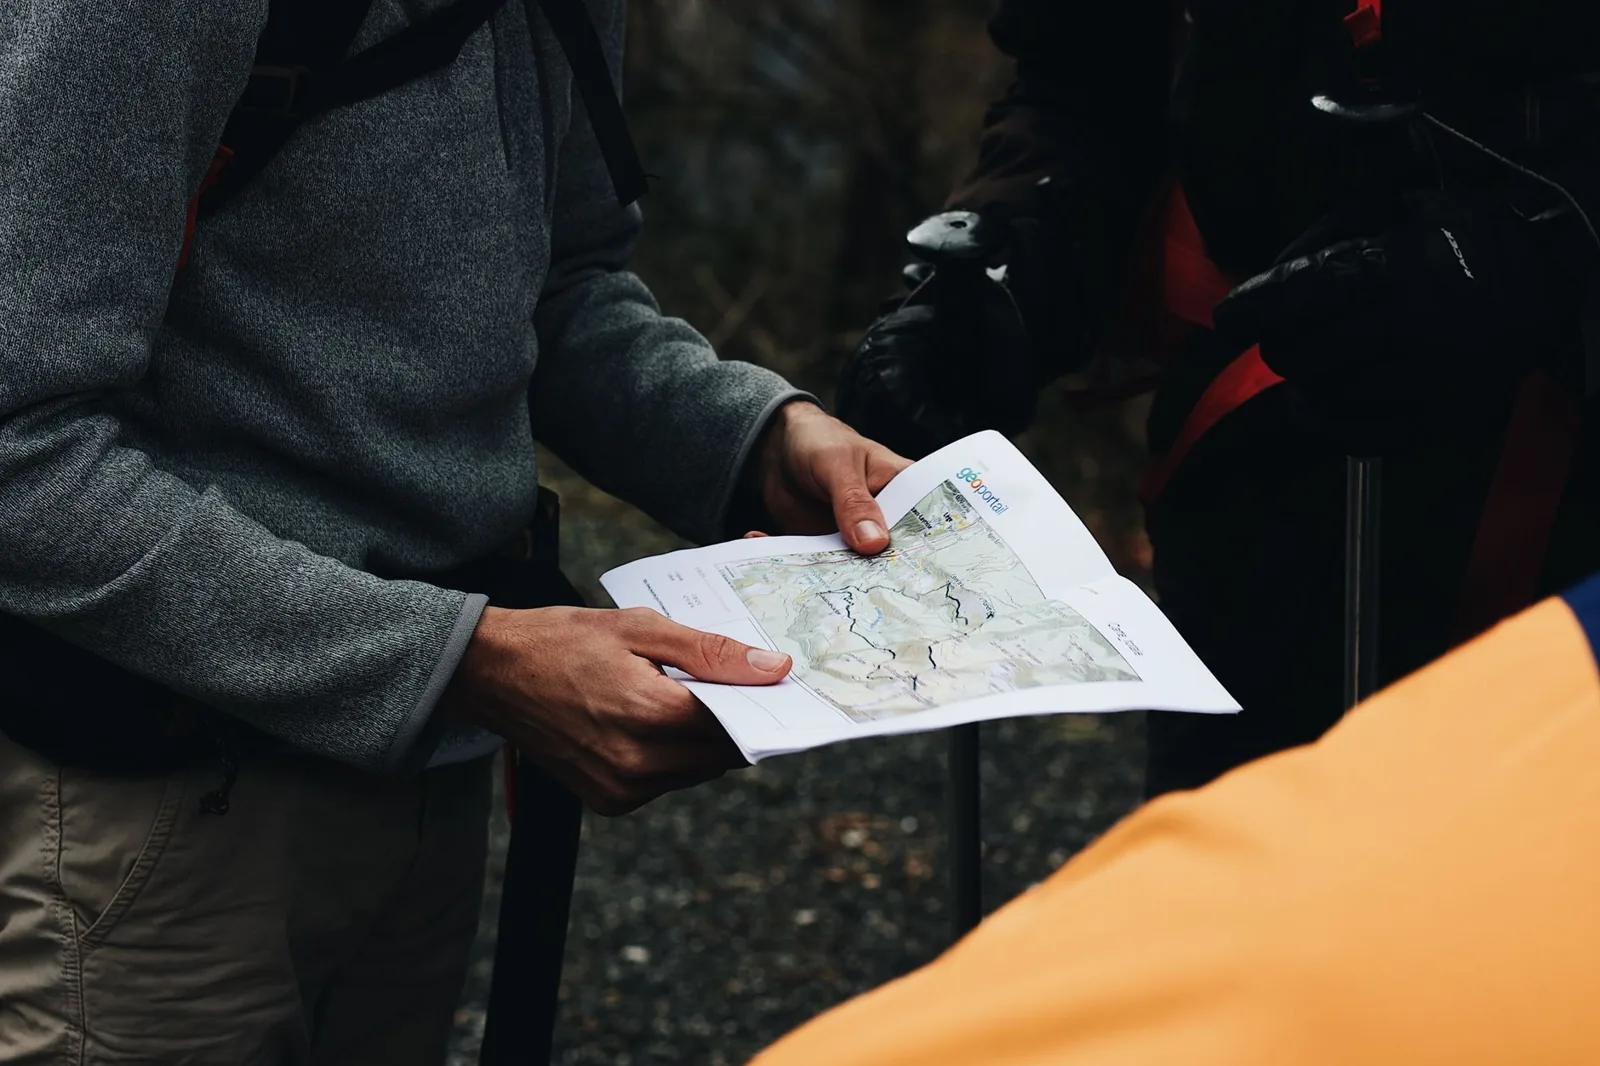
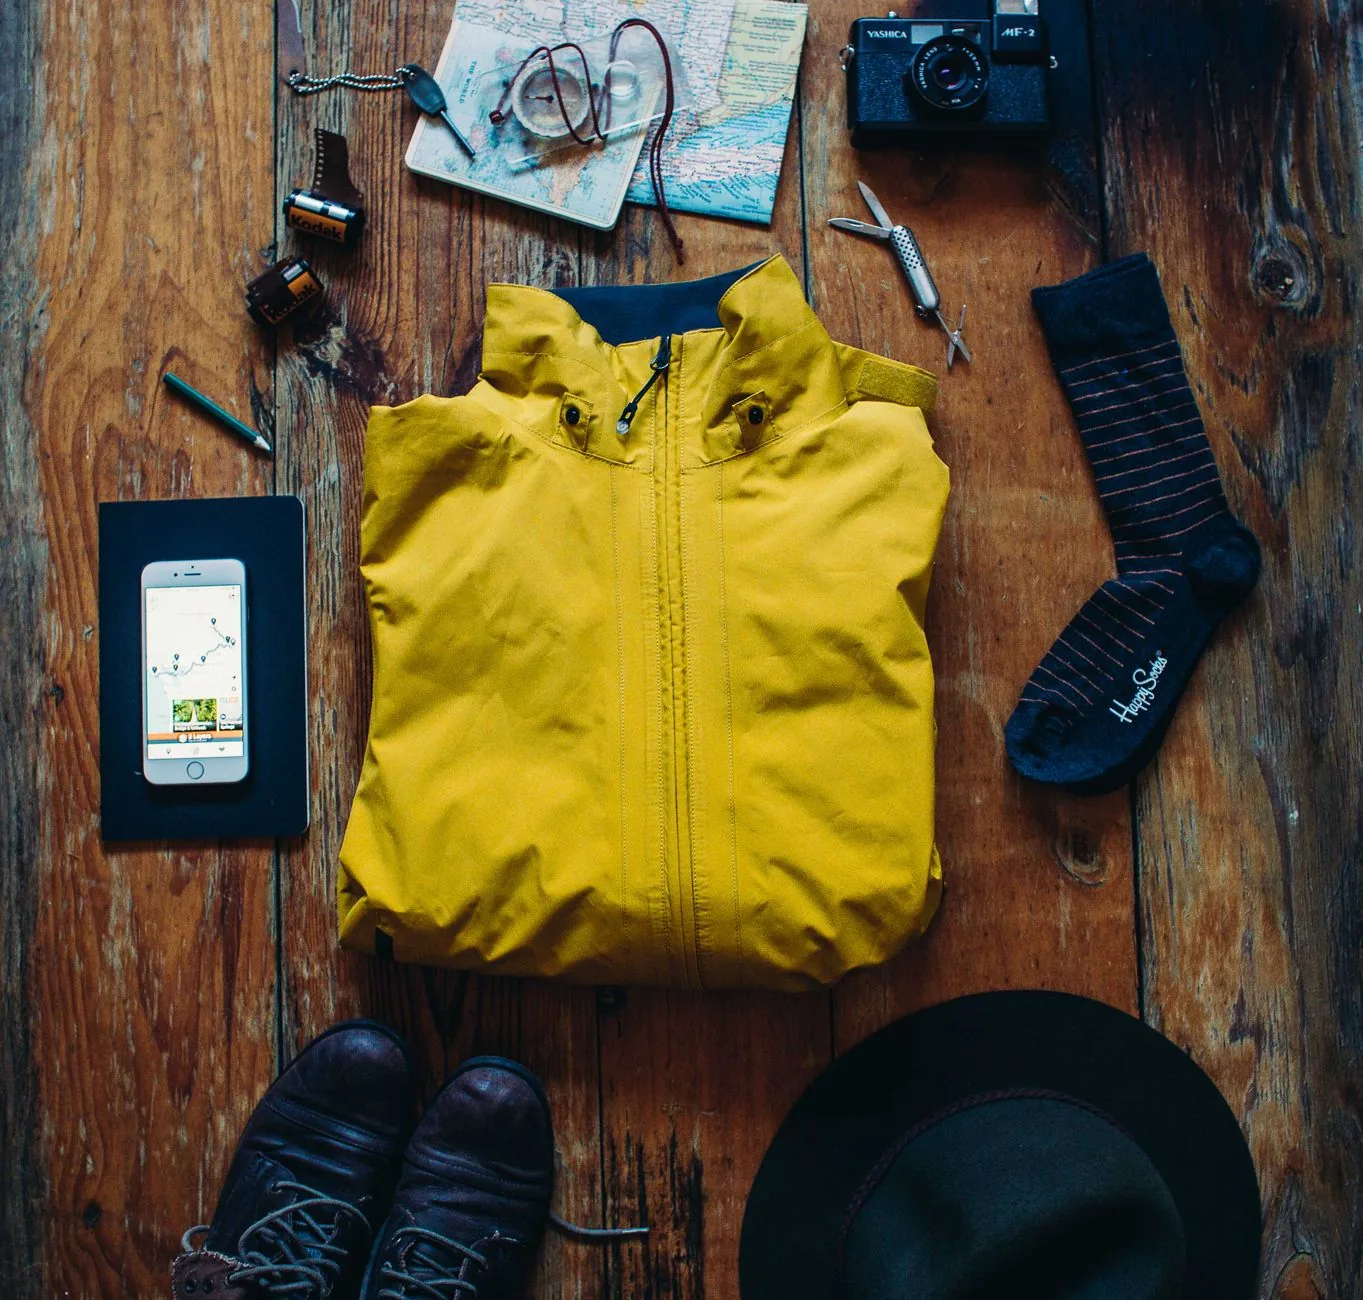
Photo by Pexels via Pexels
What to Pack: Gear That Actually Matters
Pack for the trip you’re doing, not the trip you’re imagining. The single biggest packing mistake is bringing “just in case” weight that never leaves the pack.
The non-negotiable core for any day hike:
- Water (1 liter per 2 hours) plus a filter if you’ll refill from streams.
- Navigation: a phone with an offline map (AllTrails, Gaia, or OnX) plus paper backup.
- Layers: a rain shell and an insulating layer even on sunny days.
- First aid, headlamp, and a whistle.
- Food with salt, not just sugar.
For overnight trips, add shelter, sleep system, stove, and a bear canister where required. Keep your total pack weight under about 20% of your body weight—more than that and every mile hurts.
Buy gear in this order: boots first, then pack, then everything else. Boots matter more than any other purchase because blisters end trips. Rent or borrow big-ticket items before you commit; many REI stores and local outfitters rent tents, packs, and stoves by the weekend.
Hiking Safety, Navigation, and Fitness
Safety on the trail is mostly preparation, not bravery. The people who get into trouble are usually the ones who assumed the trail would be easier than it was.
Navigation. Download offline maps before you lose signal, and carry a physical map plus compass. GPS tells you where you are; a map tells you where to go next. Learn to read both.
Weather. Check the forecast the night before and again at the trailhead. Mountain weather turns in the afternoon—plan to be off the summit by early afternoon on exposed routes.
Fitness. Start training three to four weeks out if you’re doing anything with real elevation. Walk with your loaded pack, find hills or stairs, and do one long walk per week that’s 70–80% of your planned daily distance. You don’t need a gym; you need time on your feet.
Solo safety. Hiking alone is fine with the right precautions. Tell someone your exact route and return time, stick to marked trails, and carry a satellite messenger (Garmin inReach or similar) on remote routes. It’s a few hundred dollars, or about $15–$50 to rent for a weekend—cheap insurance compared to a rescue. Our solo travel safety tips cover the same precautions for cities and transit.
Frequently Asked Questions
How far in advance should I start hiking trip planning?
For a popular national park trail, start 3–6 months out so you don’t miss the permit lottery. For a local or state park day hike, a week of planning is plenty. The permit is almost always the limiting factor.
Do I need a permit to go hiking?
Most day hikes on national forest and state land need no permit. High-demand national park trails often do—either a lottery, timed entry, or day-use reservation. Always check the park’s official page before you go.
How many miles can a beginner hike in a day?
A beginner can comfortably manage 5–8 miles with 500–1,000 feet of gain. Beyond that, expect to be sore and slow. Build up over a few hikes rather than starting with a big day.
What should I do if I get lost on a trail?
Stop, stay put, and use your map and compass or offline GPS to locate yourself. If you’re genuinely unsure of your route, retrace your steps to your last known point. Carry a whistle—three blasts is the universal distress signal.
Is hiking alone safe?
Yes, with preparation. Tell someone your plan, stick to well-traveled trails, carry navigation and a charged phone, and bring a satellite messenger on remote routes. Solo hiking is one of the safest ways to travel independently when you plan for it.
The Bottom Line
Good hiking trip planning is a checklist, not a mystery. Pick a trail that matches your current fitness, choose the right season, lock in permits early, budget for lodging and transport rather than blowing it all on gear, and pack light. Share your route, watch the weather, and train a few weeks before a climb-heavy trip.
None of this takes long once you’ve done it once. The payoff is a trip where you spend your energy on the views instead of the logistics—and come home wanting to book the next one. For more ideas on where to point your boots, start with our roundup of the best places for solo travel.